Setting up OCaml's GitHub CI for user forks
There are various Continuous Integration (CI) systems monitoring OCaml. The most publicly visible of these are the two which run on our GitHub repository: Travis, which tests GNU/Linux in 32-bit and 64-bit configurations and also performs a few sanity checks on pull requests, and AppVeyor which tests some of the native Windows ports.
OCaml 4.06 was branched on 18 September. One of the problems that we face during the weeks between branching and a release of OCaml is that the increased activity creates huge pressure on our CI systems. This is particularly noticeable on AppVeyor, since the build takes 40–50 minutes and we can only have 1 build running at a time across all pull requests and branches. Travis builds actually take around the same amount of overall time, but they are more parallelised, taking 20–25 minutes to complete.
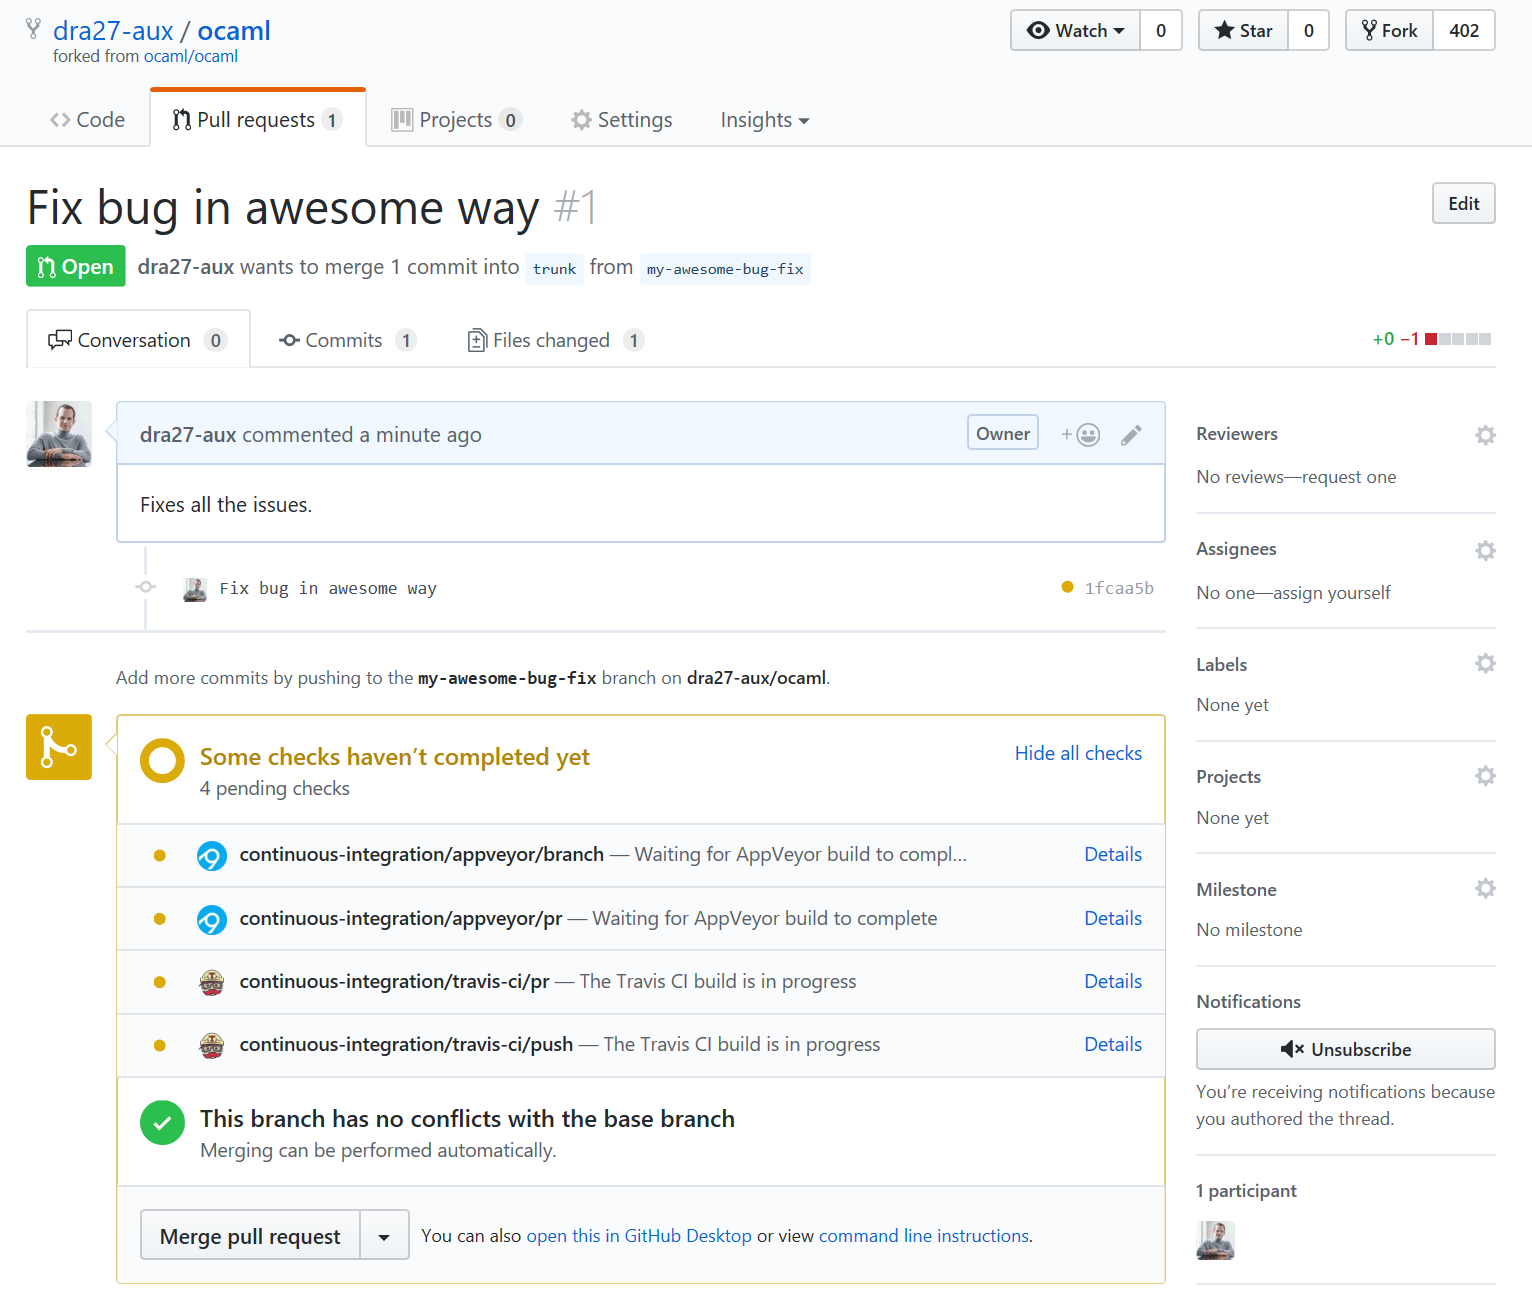
We just recently made a small tweak to the configuration for AppVeyor and would like to encourage contributors to enable Travis and AppVeyor on their own forks of OCaml prior to making pull requests. This is a great way to test platforms you may not have easy access to prior to making your Pull Request. It’s of course preferable for those of us in the development team to be presented with pull requests which already fully pass our Continuous Integration, but a build failure shouldn’t put you off contributing as others may be able to help with fixes.
Fortunately, setting up Travis and AppVeyor is really easy to do and completely free!
Travis
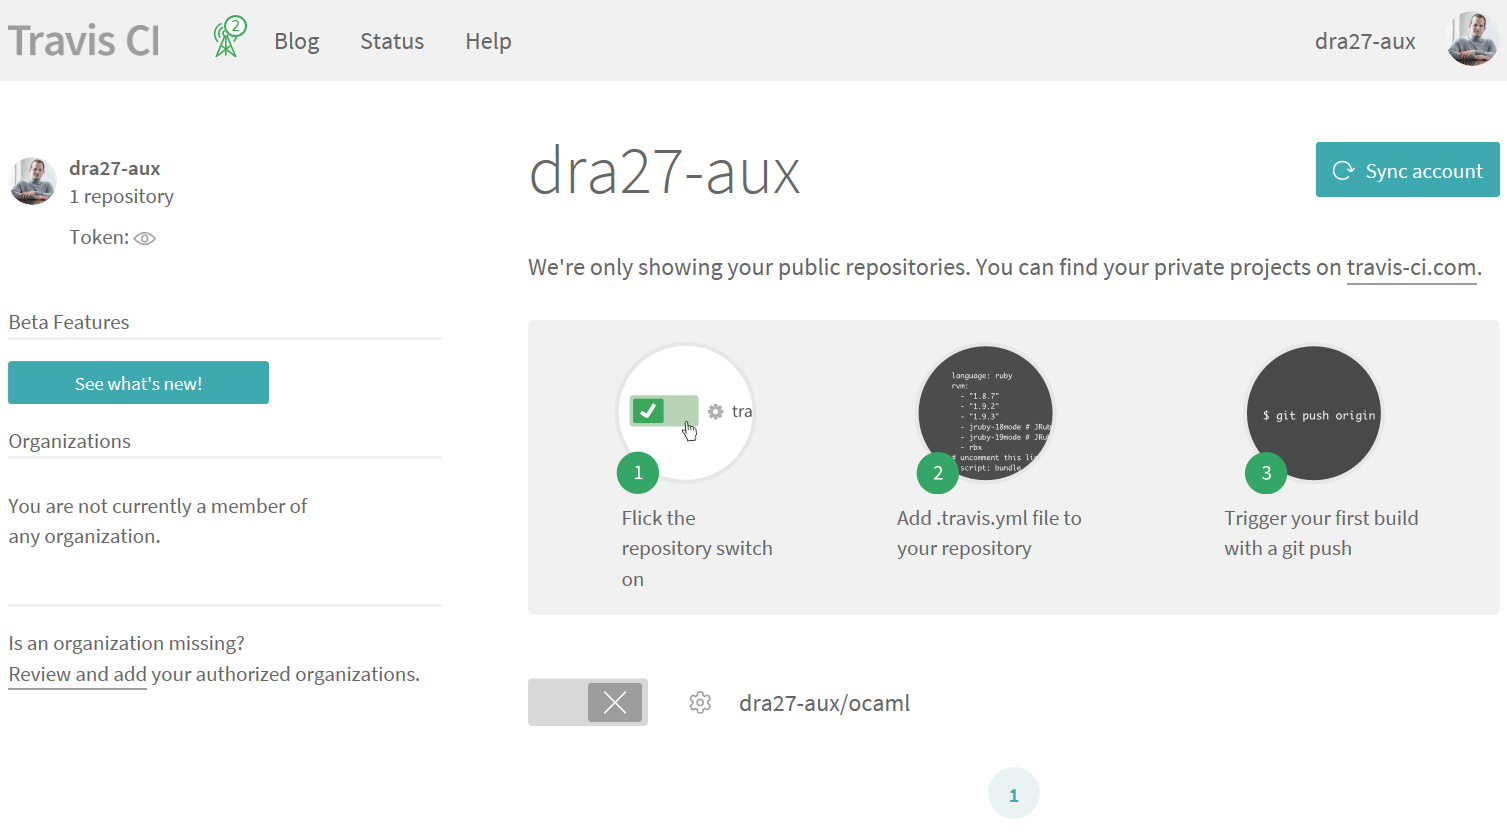
Pop over to travis-ci.org and login using your GitHub ID. It’s necessary to give Travis a few write permissions for your GitHub account – these allow it to set-up the necessary hooks so that Travis builds can be triggered and also allow Travis to write updates to the build state of commits. After a bit of initial synchronisation, you should be presented with a page showing your GitHub repos:
Then it’s as simple as toggling the switch next to your OCaml fork and you’re done! Clicking the project name will take you to the Travis build status page, which of course won’t be too exciting yet:

but once you start pushing your new topic branches:
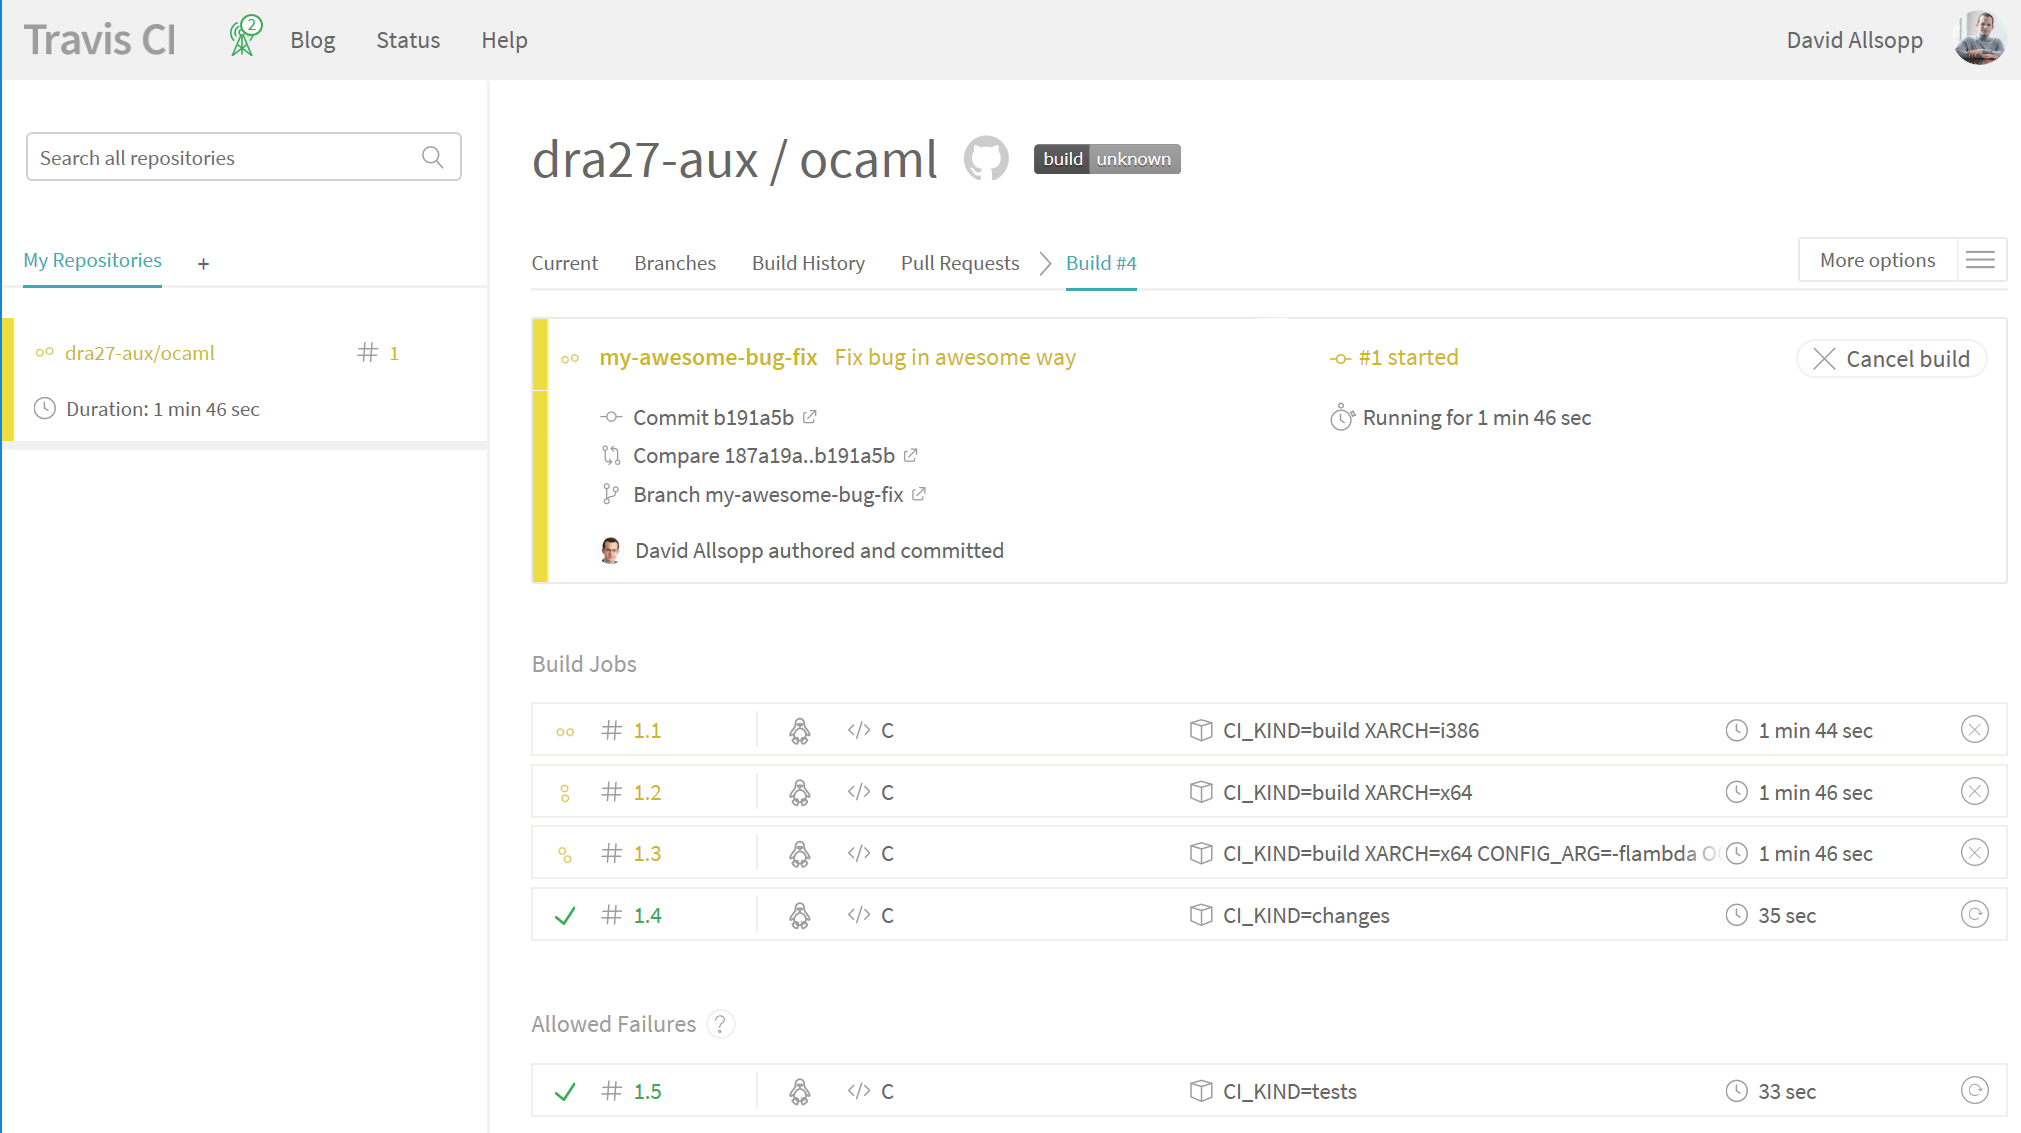
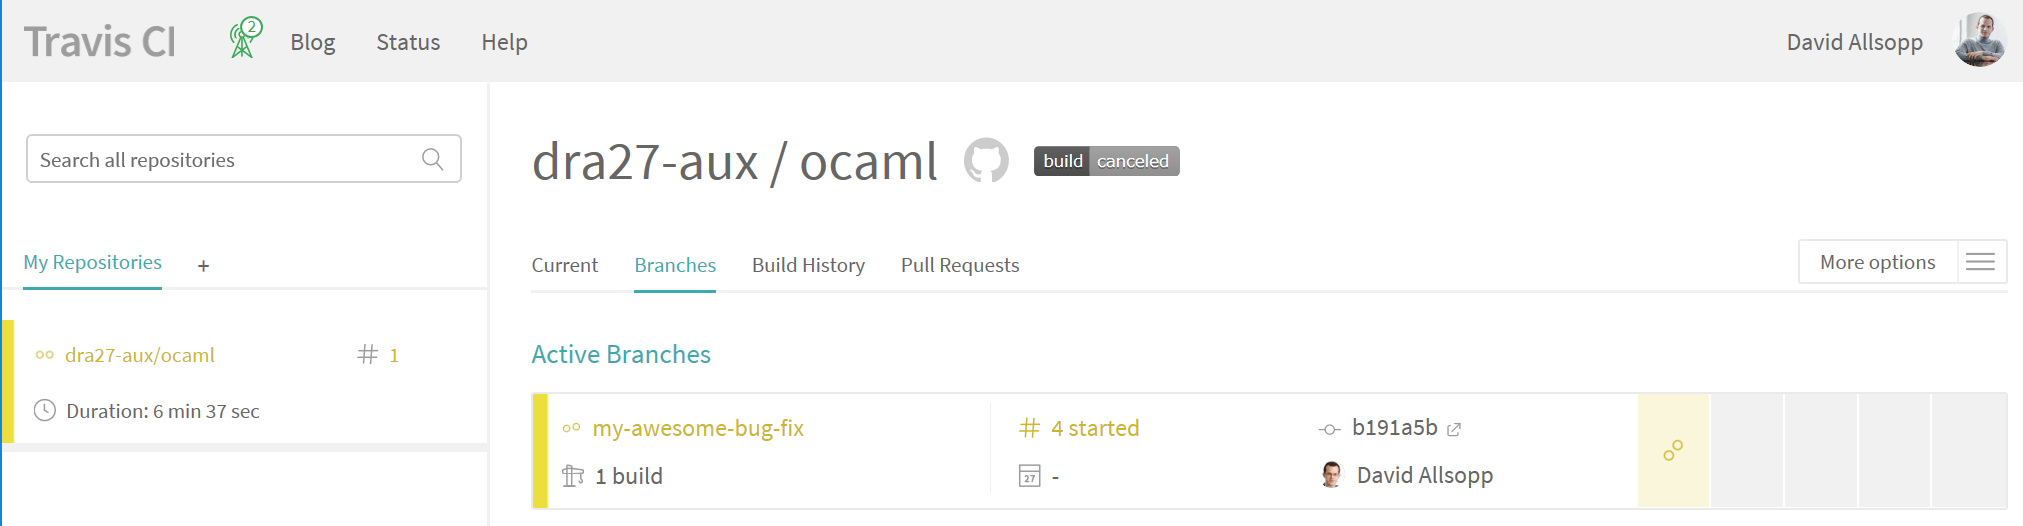
So now you can be sure that your topic branch runs on x86, x64, x64 with flambda and that each build fully passes the testsuite. As with your normal GitHub PRs, Travis will rebuild the branch if there are any changes. Travis sends notification emails (which can be configured) for your branches. However, because you’re not actually looking at a pull request yet, there’s no web GUI in GitHub itself, but you can use the Branches tab in Travis to see how your individual topic branches are doing:
AppVeyor
Now head to appveyor.com and again login using your GitHub ID. AppVeyor asks for slightly fewer permissions at this stage. You can then select the New Project option from the main page:

and you’ll now be asked to give AppVeyor similar permissions to the ones Travis asked for. If you hover over your OCaml repository, you can then choose the Add link and, as with Travis, it’s as simple as that. Again, it won’t be too exciting until you push a change, but then AppVeyor will start building your topic branches:
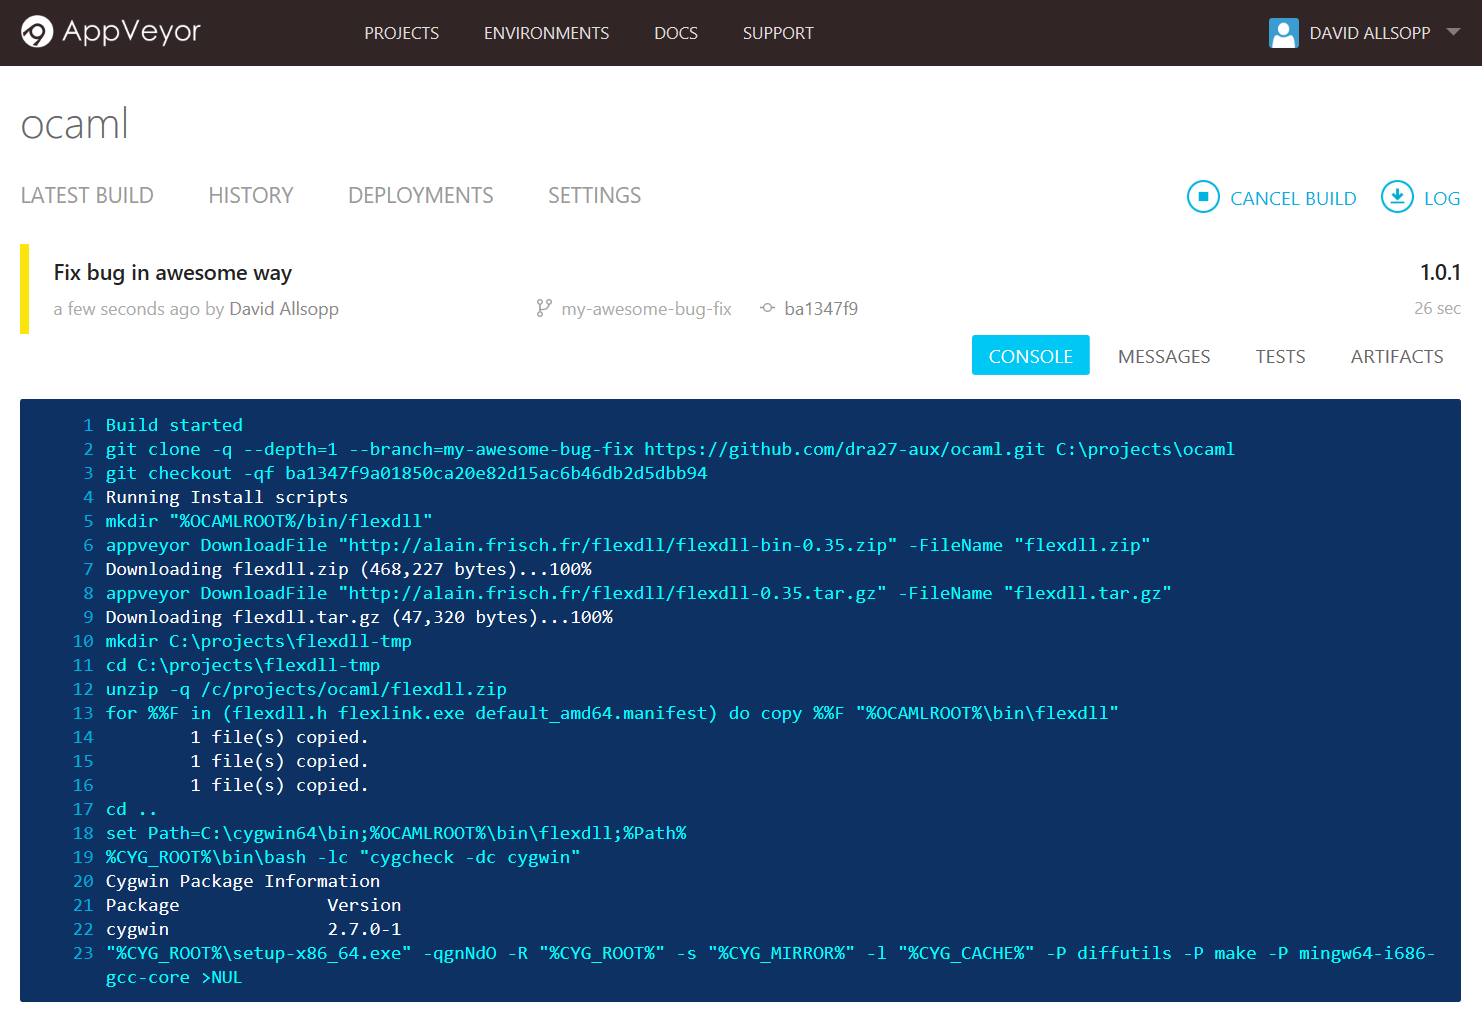
AppVeyor doesn’t have the nice Branches page which Travis has, but the History tab offers a complete list of the builds.
Local PRs
Of course, nothing prevents you from making Pull Requests against your own OCaml fork before making your final pull request to the main repository. This way, you get the usual familiar monitoring in the GitHub pull request page: